Cut away the contacts of the old EL-Foil
Slide the new EL-Foil above the original one
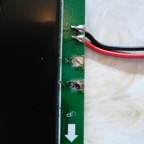
Solder the new EL-Foil
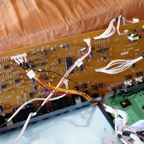
What a mess!
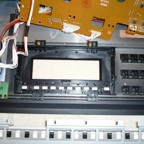
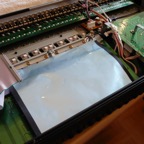
The display goes back here

The display back in place
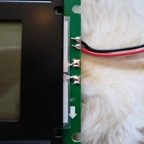
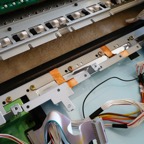
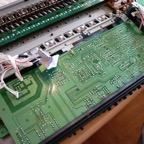
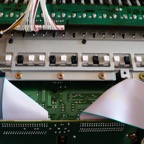
The button PCB back in place
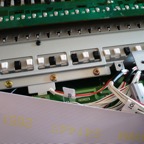
The metal bar screwed back in place
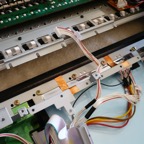
Be carefull not to pinch the cables under the metal bar!
Now that is better!
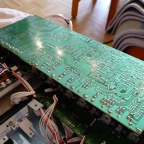
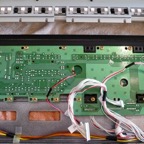
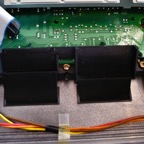
The audio board on the side
Now the power supply which we had to losen to get to the screws of the keyboard
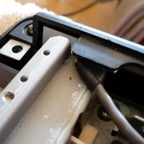
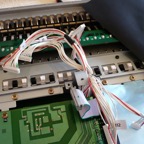
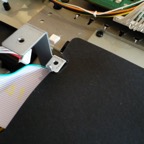
Be carefull not to pinch the aftertouch cable!

Do not put the screws of the keyboard back in place yet!
The card holder
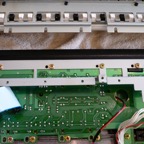
The audio board still not back in place, rather in the way...
Finally the audio board is fixed
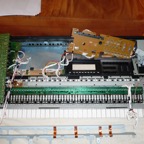
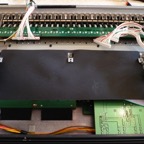
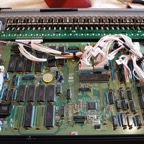
The card PCB
Now the shielding, fixed with some of the keyboard screws
Now screw back the keyboard
Lots of screws there...
Make sure that all the cables stick out here
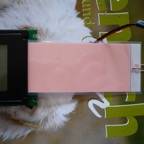
Now put the paper shielding back
Right side
Left side
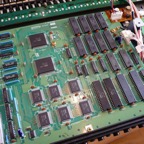
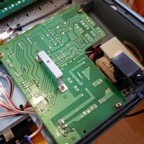
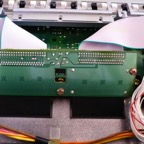
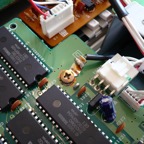
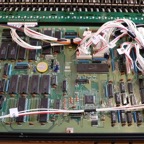
CPU Board
Don't forget the gounding wire
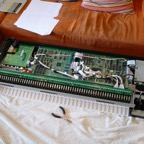
CPU Board 2 back in place
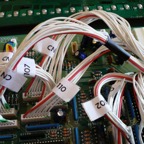
It IS a good idea to label all the cables!
Almost finished
The long cable reconnected
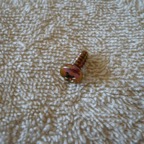
The odd left over screw....
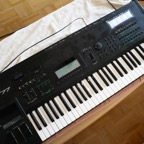
Back to show room shine
That was worth all the work!